This is my third post on TestProject. The previous posts are Getting Started with Test Project and Experimenting with Mobile Automation.
The last thing I wanted to explore a bit with TestProject is directly writing some code for some (potentially) more advanced testing. Currently, the TestProject SDK supports Java, but SDKs for JavaScript, Python, C#, and Groovy are under construction. Fortunately, Java is a language I’m at least partially competent in, so I feel comfortable giving it a shot.
The Application Under Test
To keep things simple, I just used the TestProject Example page at https://example.testproject.io/web/.

To start, I cloned the latest samples from GitHub, and grabbed the TestProject Developer SDK. Note that there’s a link on the bottom of the SDK page link above that allows you to copy your developer key. You’ll need that to get started as well.
The next steps are documented well in the readme.md for the web project (TestProject Java SDK – Quick Start for Web). Short version is that to get the samples to run, you need to make sure the build.gradle file knows where the SDK jar file lives, and add your developer key to the test runner java file.
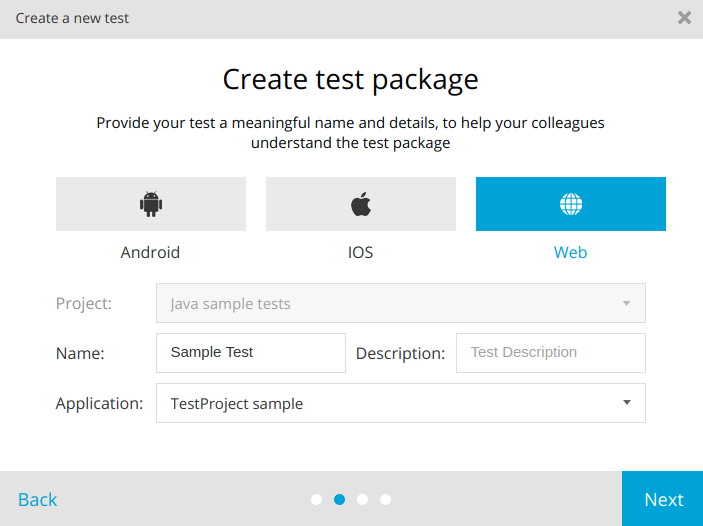
I could write a series of blog posts with details on gradle and java build command lines, but I probably wouldn’t answer questions here as fast as a google search. Once you can build the test and test runner you can upload the test to TestProject using the New Test Wizard to upload your .jar file.
For this blog post, I’ll be playing with the BasicTest sample. I cloned the sample repo, and built it as is.

My Test Package now shows up on the Web page (note that I temporarily changed the test name to match the full namespace name of the test – and that the package includes the Extended Test from the sample project as well. From here, I can add tests and run them the same as we did with the Recorded / Designed tests discussed in the previous posts.
Coded Automation
The coding constructs in TestProject should feel pretty familiar to anyone who’s written Selenium or a derived language before. You instantiate a web driver, tell it to do things with elements, and write some verification code.
The entire basic test is this:
public class BasicTest implements WebTest {

    public String name = "John Smith";
    public String password = "12345";
    public String country = "United States";
    public String address = "Street number and name";
    public String email = "john.smith@somewhere.tld";
    public String phone = "+1 555 555 55";

    public ExecutionResult execute(WebTestHelper helper) throws FailureException {

        // Get driver initialized by TestProject Agent
        // No need to specify browser type, it can be done later via UI
        WebDriver driver = helper.getDriver();

        // Navigate to TestProject Demo website
        driver.navigate().to("https://example.testproject.io/web/");

        // Login using provided credentials
        LoginPage loginPage = PageFactory.initElements(driver, LoginPage.class);
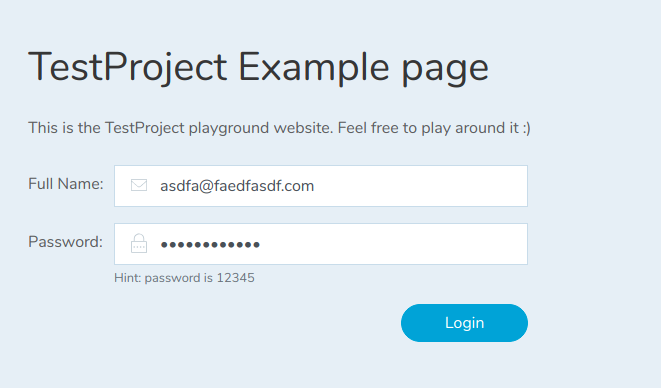
        loginPage.login(name, password);

        // Complete profile forms and save it
        ProfilePage profilePage = PageFactory.initElements(driver, ProfilePage.class);
        profilePage.updateProfile(country, address, email, phone);

        return profilePage.isSaved() ? ExecutionResult.PASSED : ExecutionResult.FAILED;
    }
}
I think it’s pretty straightforward to read – even if you’re not a “coder”.
These two lines:
WebDriver driver = helper.getDriver();
driver.navigate().to("https://example.testproject.io/web/");
…start WebDriver and navigate to our page-under test.
The next two lines initialize the Page Objects on the profile page and fill out the fields there. (please – if you write web automation, use Page Objects. TestProject gets serious points from me for including Page Objects in their sample) – and then login to the page.
ProfilePage profilePage = PageFactory.initElements(driver, ProfilePage.class);
profilePage.updateProfile(country, address, email, phone);
And finally, there’s some verification to ensure the page is saved.
return profilePage.isSaved() ? ExecutionResult.PASSED : ExecutionResult.FAILED;
This is a sample, but it’s worth mentioning that the oracle for this test isn’t great.
public boolean isSaved() {
    return savedElement.isDisplayed();
}
As testers, we’ve all seen pages that display the proper text, but don’t do _everything_ we expect. On one hand, I’d lean toward a more robust verification – OTOH, writing a massively complex verification function is part of why I get scared of a lot of UI automation.
Play Time
Cool so far, but let’s muck with this a bit and think about how we can use the power of the computer to do a bit more testing.
In a much longer blog post, I would create an array of structures containing names, addresses, etc. and loop through them ensuring that all could be entered correctly. I’d pick canonical examples from different locales to ensure (or help with) globalization, and probably add a handful of contrived examples as well (sql injection, cross site scripting, etc.). Note that I did try logging in with a user name of <script>alert(‘ruh-roh’);</script> with no problems.
Loops
First thing to do is wrap the whole function in a loop. Other than adding a loop construct, I’ll track a count of failures (so I can just return pass / fail once).
Names
I wrote a tiny helper function to create a random string from characters in the ISO Latin Alphabet. I could just as easily used UTF-16.
public String randomString(int length) {
    byte[] array = new byte[length];
    new Random().nextBytes(array);
    String generatedString = new String(array, Charset.forName("ISO_8859_1"));
    return generatedString;
}
I’ll use this to create a random first name and last name of (arbitrary) lengths 10 and 20.
// Make a name of random ISO_8859_1 characters
name = randomString(10) + " " + randomString(20);
At this stage, I have a test that loops, trying different names…but there’s one thing interesting on the following page I want to investigate.

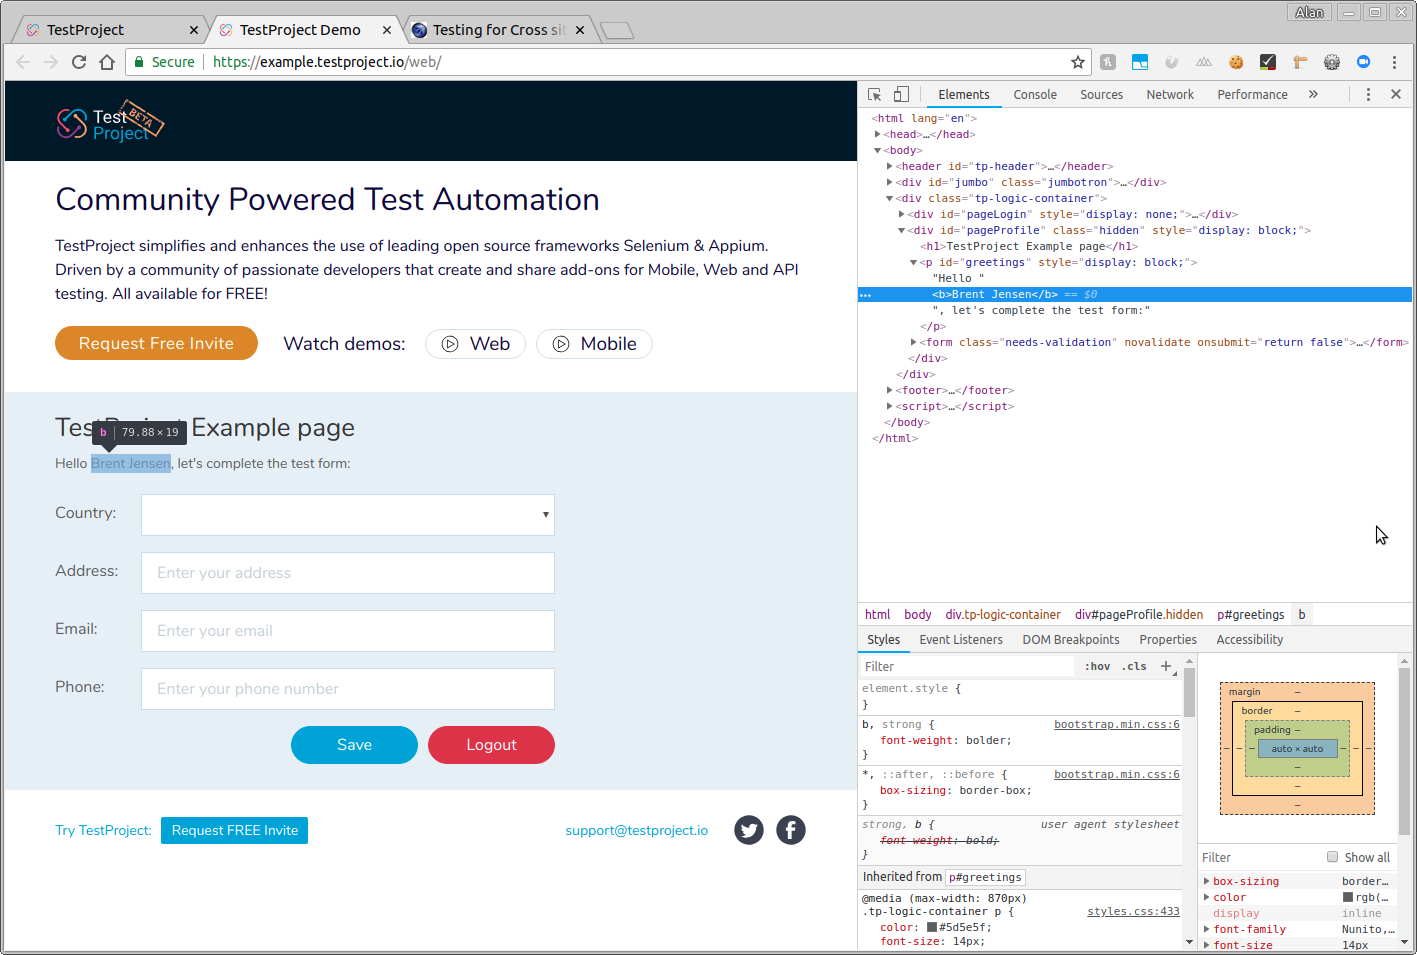
The web page grabs the name I entered on the previous screen and displays it. I want to write a test to verify that the name is correct.
Probably the easiest thing to do at this step is right click on the text, choose Inspect (assuming Chrome), and then either grab the id and find the text element by id, or choose Copy and Copy XPath (I find XPath to often be ugly, but in this case it’s very clean).

Based on that bit of investigation, I added the following bit of code to ProfilePage.java
@FindBy(id = "greetings")
private WebElement greetingElement;public boolean isGreetingCorrect(String name) {
    String greetingsText = greetingElement.getText();
    return greetingsText.contains(name);
}
It grabs the full text of the greeting element, and returns true if the string contains the name. Pretty darn straightforward.
My slightly more interesting basic test now looks like this.
public class BasicTest implements WebTest {

    //public String name = "John Smith";
    public String password = "12345";
    public String country = "United States";
    public String address = "Street number and name";
    public String email = "john.smith@somewhere.tld";
    public String phone = "+1 555 555 55";

    public ExecutionResult execute(WebTestHelper helper) throws FailureException {

        // Get driver initialized by TestProject Agent
        // No need to specify browser type, it can be done later via UI
        WebDriver driver = helper.getDriver();

        String name;
        int failCount = 0;
        int limit = 10;

        for (int i = 0; i < limit; i++)
        {
            // Make a name of random ISO_8859_1 characters
            name = randomString(10) + " " + randomString(20);

            // Navigate to TestProject Demo website
            driver.navigate().to("https://example.testproject.io/web/");

            // Login using provided credentials
            LoginPage loginPage = PageFactory.initElements(driver, LoginPage.class);

            loginPage.login(name, password);

            // Complete profile forms and save it
            ProfilePage profilePage = PageFactory.initElements(driver, ProfilePage.class);

            // NOTE: I'm a fan of the one test, one verification school, I'm making
            // an exception FOR SAMPLE PURPOSES.
            if (!profilePage.isGreetingCorrect(name)){
                failCount += 1;
            }

            profilePage.updateProfile(country, address, email, phone);
            if (!profilePage.isSaved())
            {
                failCount += 1;
            }
        }
        return (failCount == 0) ? ExecutionResult.PASSED : ExecutionResult.FAILED;
    }
    public String randomString(int length) {
        byte[] array = new byte[length];
        new Random().nextBytes(array);
        String generatedString = new String(array, Charset.forName("ISO_8859_1"));

        return generatedString;
    }
}
Of course, there are thousands of other test and verification options open at this stage, but to me, the TestProject stuff has been extremely easy to use and highly intuitive.
But Wait… Addons
I’m not going to be able to do the idea of Addons justice, but to me, this is a big differentiator with TestProject.

Addons are sharable components that perform a specific task. My dumb name generator could be spruced up to actually draw from a database of real names and be uploaded as a shareable component that anyone can use. I expect, in fact, that as TestProject grows, that the number of Addons – and their value will increase immensely.
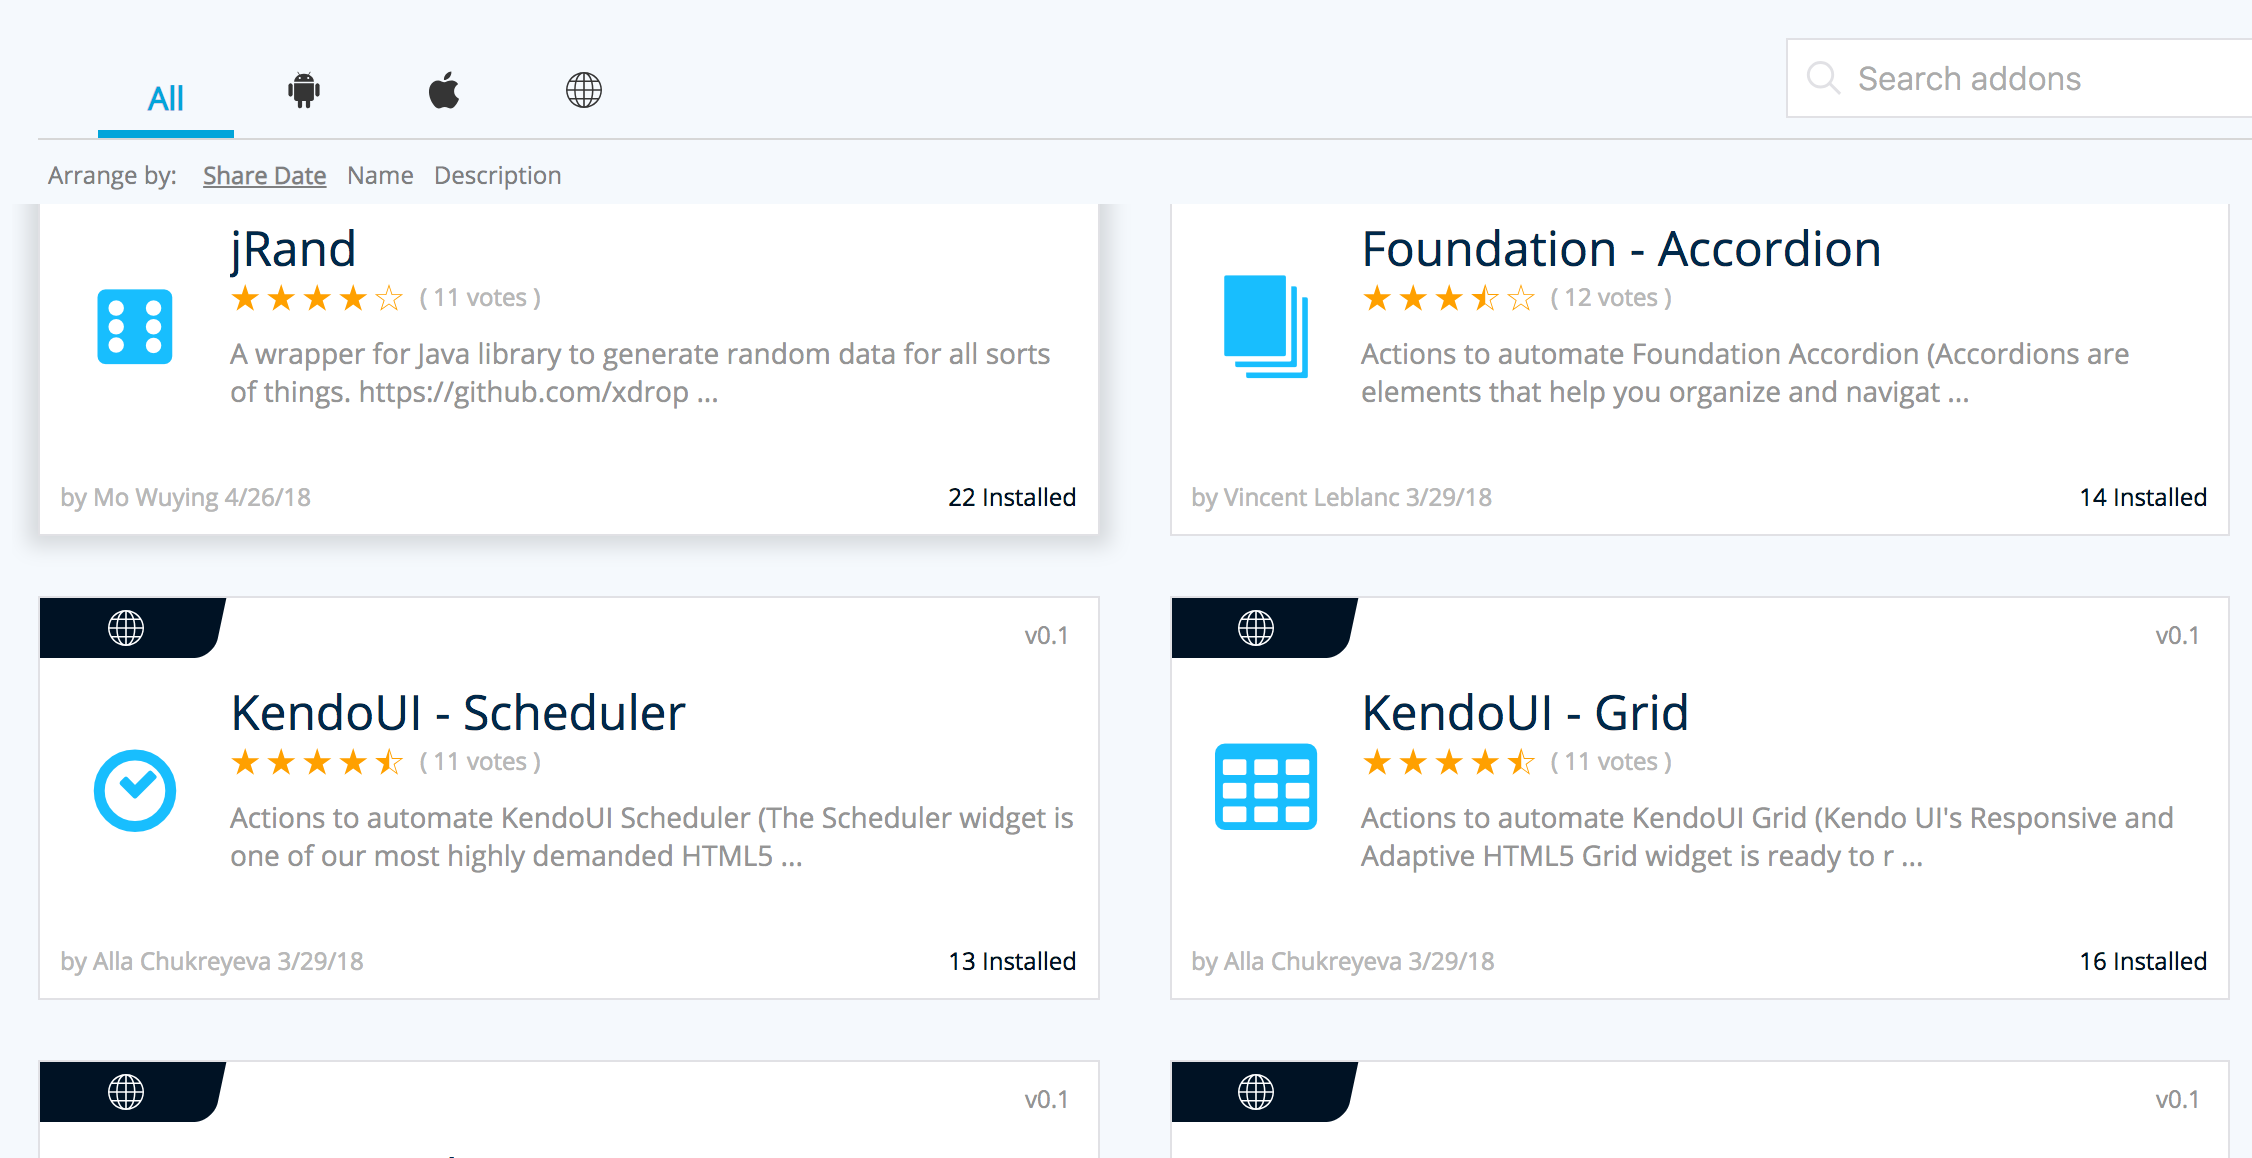
Also note that the jRand addon from the TestProject Community addons is a nice shortcut for a lot of this particular test scenario. It generates a random (and usable) value for just about any sort of entry field you could think of, including sentences, paragraphs, birthdays, addresses, altitude, credit card details and more.
There’s definitely a lot of potential for good code reuse with the addons concept.
And Finally…
I covered a lot, but not nearly as much as I should have. If you play with the coded tests in TestProject, I suggest going through the docs on github, and not my walkthrough above, because I probably forgot just enough steps (some on purpose) to throw you into a pit of despair.
But I do suggest giving this framework a shot. As always, remember that my suggestion is to automate at the Web UI level only to verify things that can only be found at the UI level. Used correctly, I think this automation framework and supported web tools can give a lot of value to a lot of software teams.